
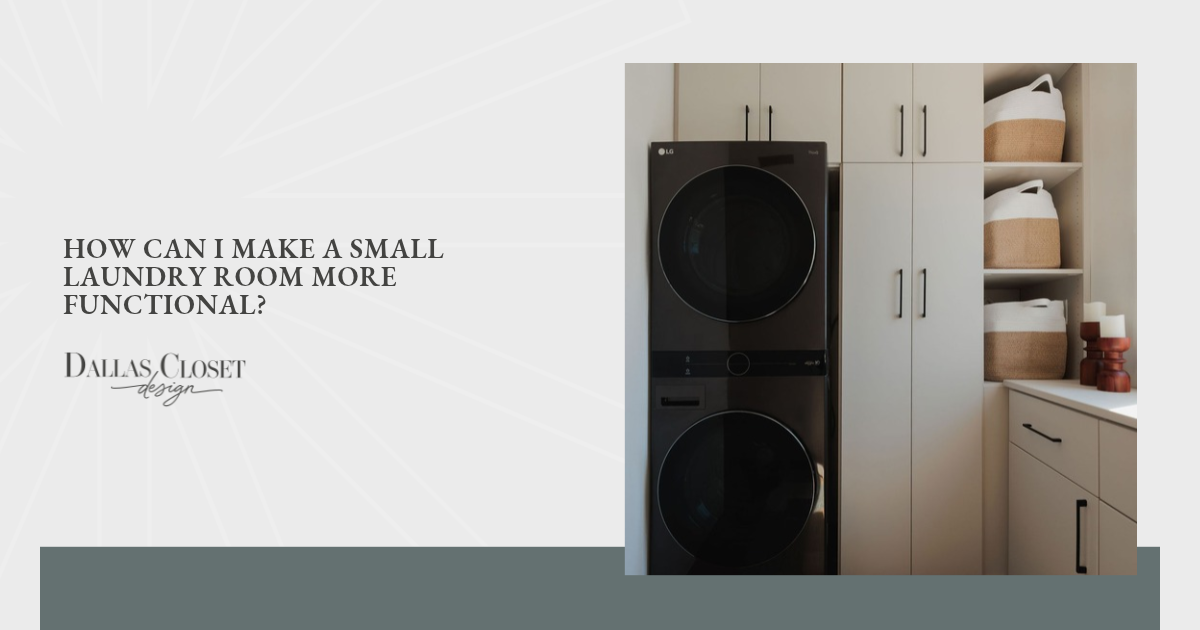
If you have to move a basket just to open the washer, your laundry room is making a routine chore harder than it needs to be. Even a single load can feel cumbersome when there’s nowhere to set clean clothes. You end up clearing a spot before you can finish the task in front of you. Those repeated interruptions can reveal which parts of the room need attention first.
For a small laundry room, my priority is to give frequently used features enough space without letting occasional tasks dictate the layout. A folding surface used for every load may deserve more room than an ironing setup needed occasionally. This trade-off helps you decide which functions need permanent space and which can tuck away. The goal is to make necessary tasks easier within the space you have.
These practical changes can help you make a small laundry room more functional:
- Plan around appliance access and walking space
- Put unused wall space to work
- Organize supplies by how often you use them
- Give dirty laundry a defined sorting spot
- Create a dedicated folding surface
- Make room for air-drying and hanging
- Choose an ironing setup that stores away
You can use these ideas to decide which changes would make the biggest difference in your daily routine.
Plan Around Appliance Access and Walking Space
Before you choose cabinets or accessories, check how much room you need with the washer and dryer open. An empty floor can look spacious until an appliance door swings into it. Open each machine as you normally would when loading or unloading clothes. Check that you can stand comfortably and reach inside without squeezing against the opposite wall.
Next, walk through the room carrying your usual laundry basket. Pay attention to tight turns and spots where you have to turn sideways. If the room also serves as a passageway, consider how someone would pass while you’re using the machines. This simple check helps you identify space that needs to stay clear.
Use those observations when deciding where new storage can fit. Measure cabinet depth with doors and drawers open so you can account for their full reach. Leave enough room to use the appliances comfortably and follow their installation requirements. A layout that supports your movements makes it easier to work without constantly stepping around obstacles.
Put Unused Wall Space to Work
Bare wall space can offer storage opportunities in a small laundry room. Upper cabinets or shelves give you somewhere to put supplies without adding another piece of furniture to the floor. Look above the appliances and along open walls for possible locations. The useful space will depend on your appliance configuration and how easily you can reach it.
Cabinet depth matters as much as width and height. Deep cabinets may hold more, but their back corners can be difficult to reach across a washer or dryer. Adjustable shelves let you change the spacing to accommodate different container heights. You can reduce wasted space between shelves without making the entire unit larger.
For storage above appliances, I’d prioritize comfortable reach over an extra row of shelves. Check where your hand naturally reaches while you’re standing on the floor, allowing for the machine’s depth. Use this height to help determine where the most accessible shelves should sit. Higher storage only adds value when you have a practical way to access it.
Organize Supplies by How Often You Use Them
Even well-sized cabinets become frustrating when you have to move several bottles to find one product. Start by reviewing what you store in your laundry room and how often you use it. Keep products you regularly need together, with labels visible and small items contained in a tray or bin. Give unopened replacements a separate spot so they don’t crowd the products already in use.
You can organize your supplies into three groups based on your routine:
- Daily Supplies: Keep regularly used laundry products together in an accessible location appropriate for your household.
- Backup Products: Group unopened replacements in a designated area so you can check what’s available before buying more.
- Occasional-Use Tools: Place items such as a lint brush or sweater comb in a small container that’s easy to retrieve when needed.
Limit each group to the space you can reasonably give it. A bulk purchase loses some of its convenience if you have to move it every time you start a load. Before restocking, check your backup area and finish open containers when possible. Clear groupings make supplies easier to find and help you notice when something is running low.
Give Dirty Laundry a Defined Sorting Spot
Loose clothing can quickly take over the floor when there’s no clear place for the next load. Give dirty laundry a designated hamper or basket that fits within your available space. Position it where you can add clothes easily without blocking access to the machines. A container that’s awkward to reach is less likely to get used consistently.
When space is tight, I put usable capacity ahead of the number of sorting compartments. Several narrow bins won’t help much if one category regularly overflows while the others stay nearly empty. Choose divisions based on the loads you actually wash separately. You may only need two compartments, or a single hamper with room to sort when it’s time to wash.
Check how much laundry typically collects between wash days before choosing the container’s size. Allow space to remove a basket or fully open a pull-out or tilt-out hamper. If your laundry room can’t comfortably hold everything, keep the main hamper where you change clothes and bring in one load at a time. The sorting setup should contain waiting laundry without taking away the space you need to wash it.
Create a Dedicated Folding Surface
Clean laundry needs somewhere to land when it comes out of the dryer. A dedicated folding surface lets you finish the load without carrying everything to a bed or dining table. Size it for the items you fold most often, allowing enough room to spread out a shirt or towel. Even a compact surface can be useful if it stays clear between loads.
A fixed counter may work above front-loading machines when the installation allows proper clearance and access. With a top-loading washer, you’ll need to preserve space for the lid to open fully. A folding shelf on another wall can provide temporary workspace where a permanent counter won’t fit. Check its dimensions when open to make sure you can still stand comfortably and reach the dryer.
Keep bottles and decorative items off the area you’ve set aside for folding. Otherwise, you’ll have to clear the surface before every load. Leave room for a small stack of folded clothes beside the item you’re working on. Once the stack is ready, put it away so the surface is available for the next load.
Make Room for Air-Drying and Hanging
Some clothes need a place to dry outside the machine, which can be difficult when floor space is limited. A wall-mounted drying rack or appropriately positioned hanging rod can give you that space. Choose the setup around the garments you regularly wash and their care instructions. Shirts that can dry on hangers need a different arrangement than sweaters that must dry flat.
My first consideration for a drying setup is how much space it needs when fully extended, especially in a small room. Check that hanging clothes won’t cover the controls or interfere with appliance doors. Allow enough height for your longest garments and room between damp items for air to circulate. A retractable feature still needs adequate working space while clothes are drying.
A laundry valet serves a different purpose by holding a few garments briefly before you put them away. You might use it for shirts straight out of the dryer that you want to hang promptly. Don’t assume a compact valet can accommodate an entire load of wet clothing. Match each feature to its intended use and stated weight capacity so your hanging area stays manageable.
Choose an Ironing Setup That Stores Away
An ironing board can occupy much of a small room, even when you only need it for a few minutes. A foldaway or cabinet-mounted version lets you reclaim the space after pressing your clothes. Consider how often you iron and which garments usually need attention. A compact board may suit occasional touch-ups, while larger items may be easier to handle on a full-size surface.
Check the board’s position when it’s completely open before deciding where it belongs. You’ll need room to stand beside it and move the garment without bumping into nearby cabinets. Make sure the iron’s cord can reach an appropriate outlet without crossing a walkway. The setup should also provide a stable place to rest the iron during use.
Give the cooled iron and its cord a designated storage spot near the board. Keep any pressing accessories together so you don’t have to search for them each time. Follow the manufacturer’s instructions for cooling and storing the iron before closing the setup away. An ironing station earns its space when it’s easy to use and equally easy to put away.
Conclusion
Your laundry room should feel manageable even when there’s a load waiting to be finished. Start with the interruption that bothers you most, and give yourself room to solve it before adding anything else. You don’t have to fit every possible feature into a small space. When you can finish a load without repeatedly rearranging the room, the design is doing its job.